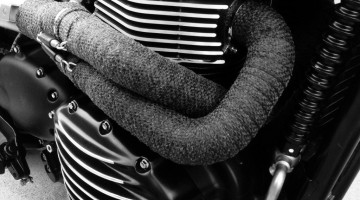
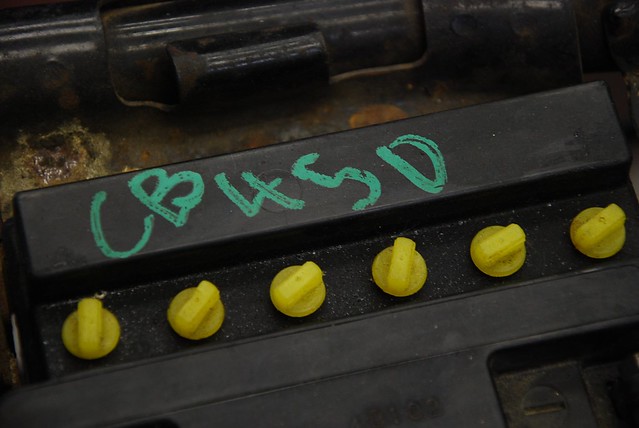
It was late May when Jeff and I first investigated the internal engine health of my 1974 Honda CB450 Supersport resuscitation project. Good compression readings had us confident that the internals of the engine were probably okay. The bike was far from ready to run, though. The carburetors needed to be rebuilt. Parts of the front brake line system had to be replaced. The handlebar controls needed to be re-wired and re-cabled. Worst of all, my CB450 was missing its air boxes. I would have to get inventive before we could really confirm whether or not the CB450 was going to run and ride.
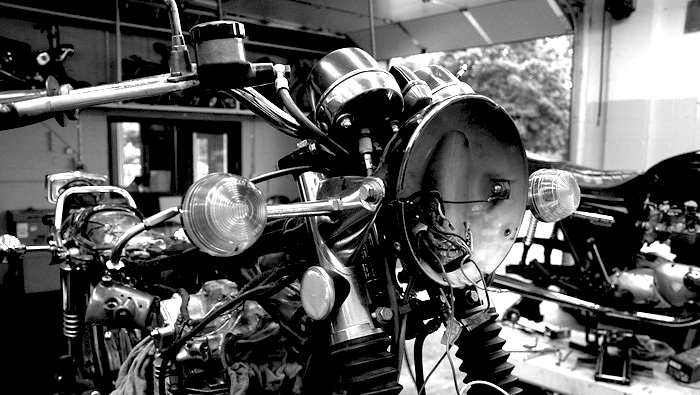
Moto Dojo session #2 at BCM would tackle the control setup. Because this motorcycle had been derelict for so long, it got picked as a guinea pig for a publicity opportunity. Over the winter, the folks at DIY Magazine approached BlueCat Motors to do a story on changing out a motorcycle’s handlebars. The CB450 had a gods-awful pair of mismatched, “ape-hanger” bars on it. Ape-hangers on an otherwise stock CB450 isn’t even worth doing ironically. No. Just no. So what later came to be my motorcycle was a perfect candidate for Jeff and Ryan to use as the mule for the article and corresponding photo shoot. Trouble is, the job had only been partially done — just enough for the article. The new bars were on, but the throttle wasn’t hooked up. The poorly spliced wiring from the ape hangers that ran from the hand controls forward to the headlight bucket hadn’t been shortened or even really inspected.
The wiring was the hardest part, so we started there. I was ready though. A week or so earlier, Jeff and I had done almost the exact same procedure on his ’72 CB250. There are essentially two looms in an old Honda, one for each set of hand controls. They run from the hand control, down the bars, and into the back of the headlight bucket where they connect to the main wiring loom. Starting at the handlebars, each set of hand controls was loosened and removed. Jeff had me open up the headlight bucket to disconnect each loom from its various, color-coded wires while he unwrapped them. While we had it open, Jeff reached in and (from memory) rewired my charging system! For reasons lost to antiquity, Honda thought it was a good idea to only fully employ the bike’s charging system when the headlight is turned on. Motorcycle charging systems, especially older ones, barely keep the battery topped off when running at full capacity. So Jeff makes it a habit to simply bridge the headlight back into the charging system and complete that circuit so that the generator is charging from all of its coils all the time. It took me longer to type that out than it took Jeff to do it. Plug and play.
With the looms out of the bike, it was time to divide and conquer, as Jeff and I so often do. I had the clutch-side control and started unwrapping the mess of electrical tape bundling the wires together. It came off slowly with help from my utility knife, but great care had to be taken. I didn’t want to snag or cut any wires on accident. The last thing I needed was a short in the middle of this wire bundle after it’d been taped back up again. The tape gave way to a mess of shoddy electrical work. Instead of shrink wrapping or even taping his splices, the previous owner had simply staggered his splices so that, fingers crossed, none of the bare wire junctions would touch each other. How was that easier than just doing it right?
I had my own lessons to learn though. Thinking I was being economical with my time, I snipped off the extension wire on one end of the existing solder splice. My plan was to introduce the other end of the original wire, then just heat up the existing solder to accept the new splice. In my thinking, this was like pre-soldering it. Jeff caught me though. “Dude, don’t reuse the old solder. That’s kind of janky. You want to know you can trust these connections. Snip and strip everything and splice clean wire together. And don’t forget to slide on a piece of heat shrink tubing before you splice and solder the connection. It won’t fit over the other end of the wire.”
Yes, Sensei.
Jeff also taught me how to effectively “assembly-line” my electrical tasks. Rather than re-splicing an entire wire start to finish, he had me snip all the ends in a row. Then strip back all the insulation at once. Then slide heat shrink over all the free wires. Then twist all the splices together. Then solder all the joints and seal them with the heat shrink. This makes so much sense once you do it. You’ve got the stripper tool in your had, use it all at once. Pick up the soldering iron once and move through all your joints. Constantly changing tools is a waste of time. I love the pro tips like this. I love learning how to do something correctly.
We bundled up the looms in fresh tape and ran them back into the headlight bucket. We hooked everything back up and then plugged the shop’s jump box in where the new battery would eventually go. We tested all the switches, lights, horn and starter to make sure all the controls were making their appropriate connections. Everything worked, so that had me looking for what was next. I grabbed the front brake lever and it was limp. We’d gotten through the wiring in record time, so we still had plenty of time that evening to tackle the front brake.
I opened the master cylinder reservoir to find it bone dry. Filling the
cup with fresh DOT3, I moved down to the bleed valve and opened it up. Hooking up the air-powered bleeder, nothing was coming out. I pulled the fitting all the way out. It was plugged. Some compressed air had it sorted out. Even then, the system still wouldn’t bleed. At this point, Jeff got involved.
Most times we work on a bike, I inevitably reach a point where the machine is “beyond my magic to heal.” This doesn’t bother me, as it usually means I’m about to learn something. What I learned in this situation is that for reasons lost to science, the front brake on this old Honda is a mixture of hard lines and rubber lines. Newer machines usually run a single line all the way from the master cylinder to the caliper. The CB450 runs a rubber line from the m.c. down to a hard fitting, then another rubber line. That rubber line connects to a hard steel line that’s mounted to the caliper. Turned out the intermediate rubber line was worn out and the intermediate hard pass-through fitting was also plugged. It wasn’t difficult, it just took time.
Another Moto Dojo session came to an end with more hopeful progress made on the CB450. At this point I was hoping that I’d be able to ride the my little flying chocolate bar on my annual birthday off in late June, just two weeks away. All that stood in my way was a carb rebuild, new air filters and and tuning. I put in my parts order and crossed my fingers. It seemed possible, if ambitious. What followed would be my first, harsh lesson in all the things that can and do go wrong when you’re working on an old bike. I was so close, yet so, so far.
![]()